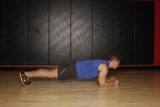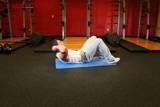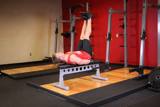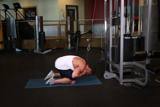
Seated Knee Tuck tutorial

The seated knee tuck is a no-equipment exercise for the abs, especially the lower portion, performed while seated on the floor or a bench. It brings the upper body and legs together at the same time and is very practical for home workouts.
How to perform
- Sit on the floor or the edge of a bench and place your hands slightly behind your hips.
- Lean back slightly and lift your feet off the floor with knees bent.
- Brace your core and balance on your hips.
- Extend your legs forward while leaning your upper body slightly back.
- Contract your abs to pull your knees toward your chest and bring your torso toward your knees.
- Repeat with a controlled rhythm without letting your feet touch the floor.
Breathing: Inhale as you extend your legs and exhale as you tuck your knees in.
Key tips
- If it's too hard, lightly touch your feet to the floor between reps.
- Keep your shoulders down and away from your ears.
- Focus on the ab contraction rather than speed.
Common mistakes
- Rounding the back excessively and letting the shoulders slump forward.
- Leaning too much on the hands instead of using the abs.
- Performing the movement fast and without control.
Safety: People with lower-back or tailbone pain should use a soft surface and stop if their back starts to hurt.
Abs and corePrimary muscle
Body weightEquipment
BeginnerLevel
HomeLocation
Suggested sets and reps
Beginner2–3 sets × 12–15 reps
Muscle mass3–4 sets × 10–15 reps
Strength3 sets × 8–10 reps
Fat burning3 sets × 15–20 reps
Pick a weight where the last 1 to 2 reps are hard but done with correct form.
Get a complete workout program
Do this exercise within a personalized program based on your goal and level.
Get a free program